FOLIO Developer Curriculum
** DEPRECATED ** Getting Started with FOLIO for Developers
00: Introduction
: FOLIO Developer Curriculum Outline
01: Clone, Build, and Explore Okapi
02: Initialize Okapi from the command line
03: Enable Okapi Authentication
04: Deploy test Stripes module
05: Set up the Okapi Users app
06: Interact with the FOLIO Stable VM
Deploy test Stripes module
In this lesson we set aside the Okapi server (leave it running) and focus on the web-based user interface, Stripes. The Okapi Gateway is not required for this lesson.
Inform the Yarn package manager of the FOLIO UI registry location
(Note: the output of commands is artificially indented from the command line to call out the command lines.)
$ yarn config set @folio:registry https://repository.folio.org/repository/npm-folio/
  yarn config v0.20.3
  success Set "@folio:registry" to "https://repository.folio.org/repository/npm-folio/".
  ✨  Done in 0.04s.
Set up a Stripes Development UI Server
Create an empty directory to hold the Stripes UI Server configuration (called stripes-tutorial-platform).
$ mkdir $FOLIO_ROOT/stripes-tutorial-platform
$ cd $FOLIO_ROOT/stripes-tutorial-platform
In that directory, put two configuration files: The package.json and stripes.config.js files, with the following basic content:
Contents of package.json
package.json is a Node Package Manager (NPM) configuration file.
It is a JSON file that contains two dictionaries: scripts and dependencies.
The scripts dictionary specifies name-value pairs of commands that are used by Yarn to build and run the platform.
The dependencies dictionary lists packages (and specific versions) that make up the Stripes client bundles.
At this stage of the Curriculum we are setting up a stand-alone Stripes UI Server instance that does not communicate with an Okapi back-end.
The package.json below builds Stripes with a ‘trivial’ client bundle.
$ cat > package.json <<END
{
  "scripts": {
    "build": "stripes build stripes.config.js",
    "stripes": "stripes",
    "start": "stripes dev stripes.config.js"
  },
  "dependencies": {
    "@folio/stripes-core": "^0.0.11",
    "@folio/trivial": "^0.0.2-test"
  }
}
END
Contents of stripes.config.js
stripes.config.js contains the configuration details for the Stripes UI Server.
It is referenced in scripts dictionary of package.json.
It is a JSON file with three required dictionaries: okapi, config and modules.
The okapi dictionary specifies the details for connecting to the Okapi Gateway; it is not used in this lesson.
The config dictionary contains two key-value pairs to bypass authentication and authorization checks.
The modules dictionary contains another dictionary of Stripes package and their configuration.
The key in this dictionary is the name of the package to load from the FOLIO UI registry.
The value in this dictionary are parameters that can override the default settings of the Stripes package.
$ cat > stripes.config.js <<END
module.exports = {
  okapi: {},
  config: { disableAuth: true, hasAllPerms: true },
  modules: {
    '@folio/trivial': {}
  }
};
END
Build Stripes with the ‘trivial’ client bundle
Download/update Stripes along with its dependencies and modules, and link them together using the yarn install command:
$ yarn install
  yarn install v0.20.3
  info No lockfile found.
  warning No license field
  [1/4] 🔍  Resolving packages...
  [2/4] 🚚  Fetching packages...
  [3/4] 🔗  Linking dependencies...
  [4/4] 📃  Building fresh packages...
  success Saved lockfile.
  ✨  Done in 40.40s.
If you are seeing the error “EPROTO: protocol error, symlink” when running Vagrant on Windows, the likely cause is that Vagrant was not launched with administrator privileges. Be sure to use Run As Administrator… when opening the Command Prompt itself (cmd.exe). See issue STRIPES-344 for details.
After the Stripes UI Server is built, run it using the yarn start command:
$ yarn start
  yarn start v0.20.3
  $ stripes dev stripes.config.js
  Listening at http://localhost:3000
  webpack built 554cedd72fbedc2f7499 in 7890ms
If you are using the VirtualBox guest machine, set the environment variable
STRIPES_HOST before running yarn start to allow the Stripes development
server to listen on all interfaces:
$ STRIPES_HOST=0.0.0.0 yarn start
The Stripes UI Server is now running at http://localhost:3000.
The server will respond after the webpack built... message is displayed.
Interacting with the Stripes UI Server
The Stripes UI Server homepage at http://localhost:3000 looks like the figure below.
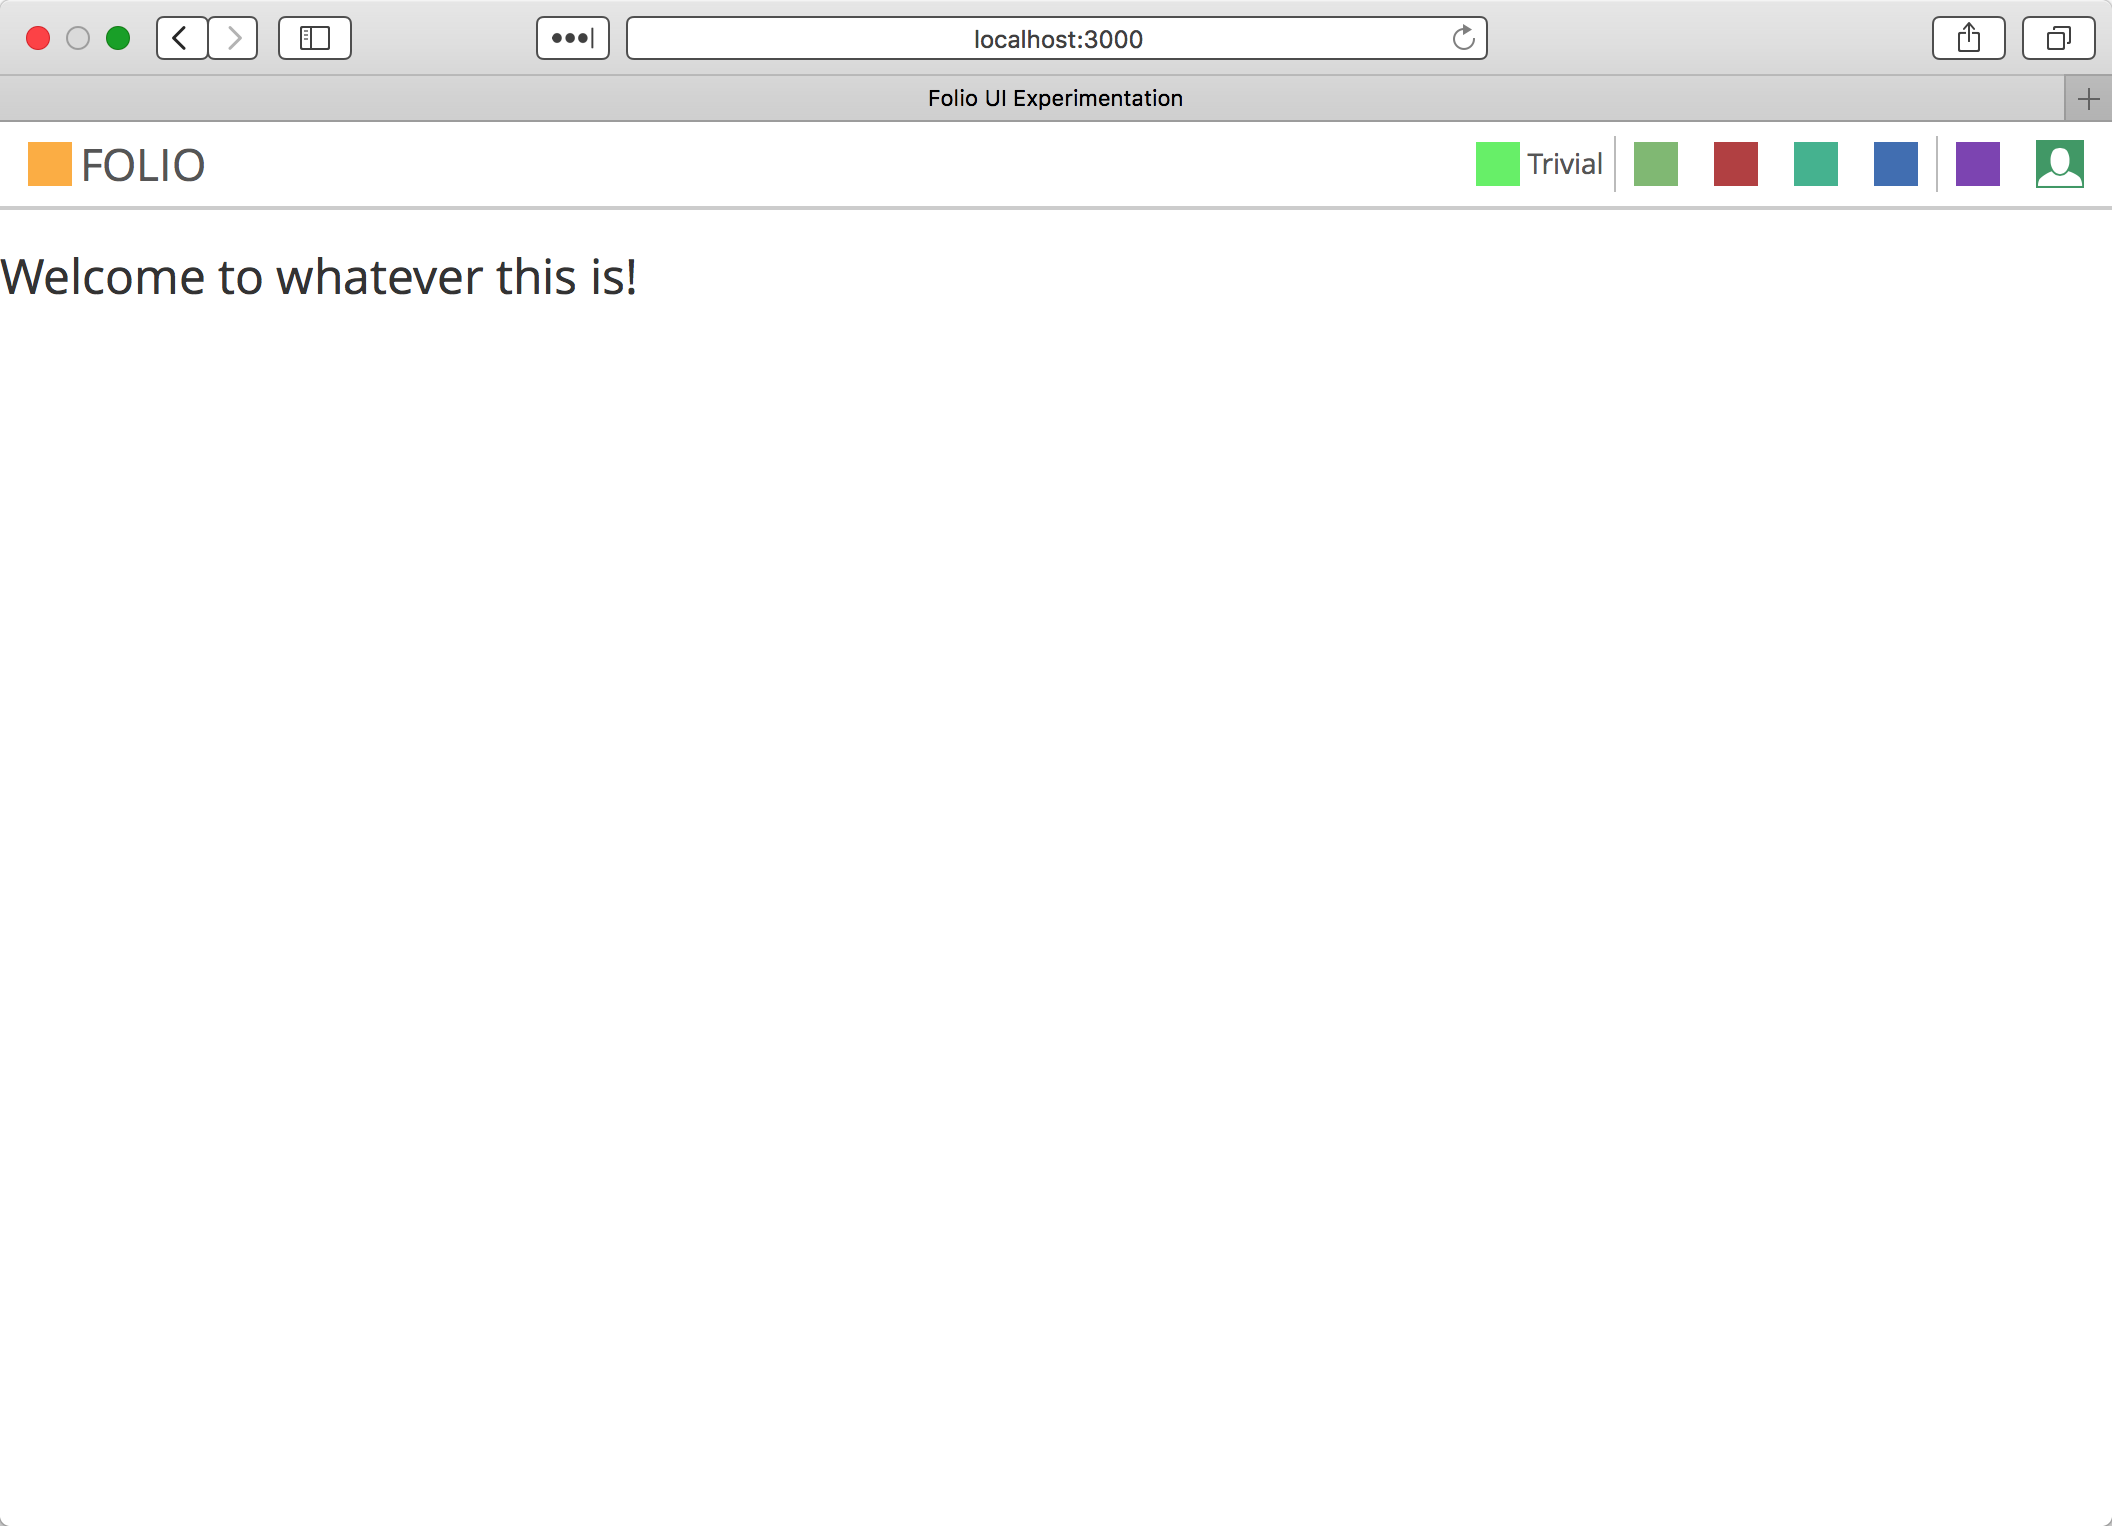
There is one app in this basic configuration of the Stripes UI Server – the “Trivial” app with the green icon. Click on it to get a form:
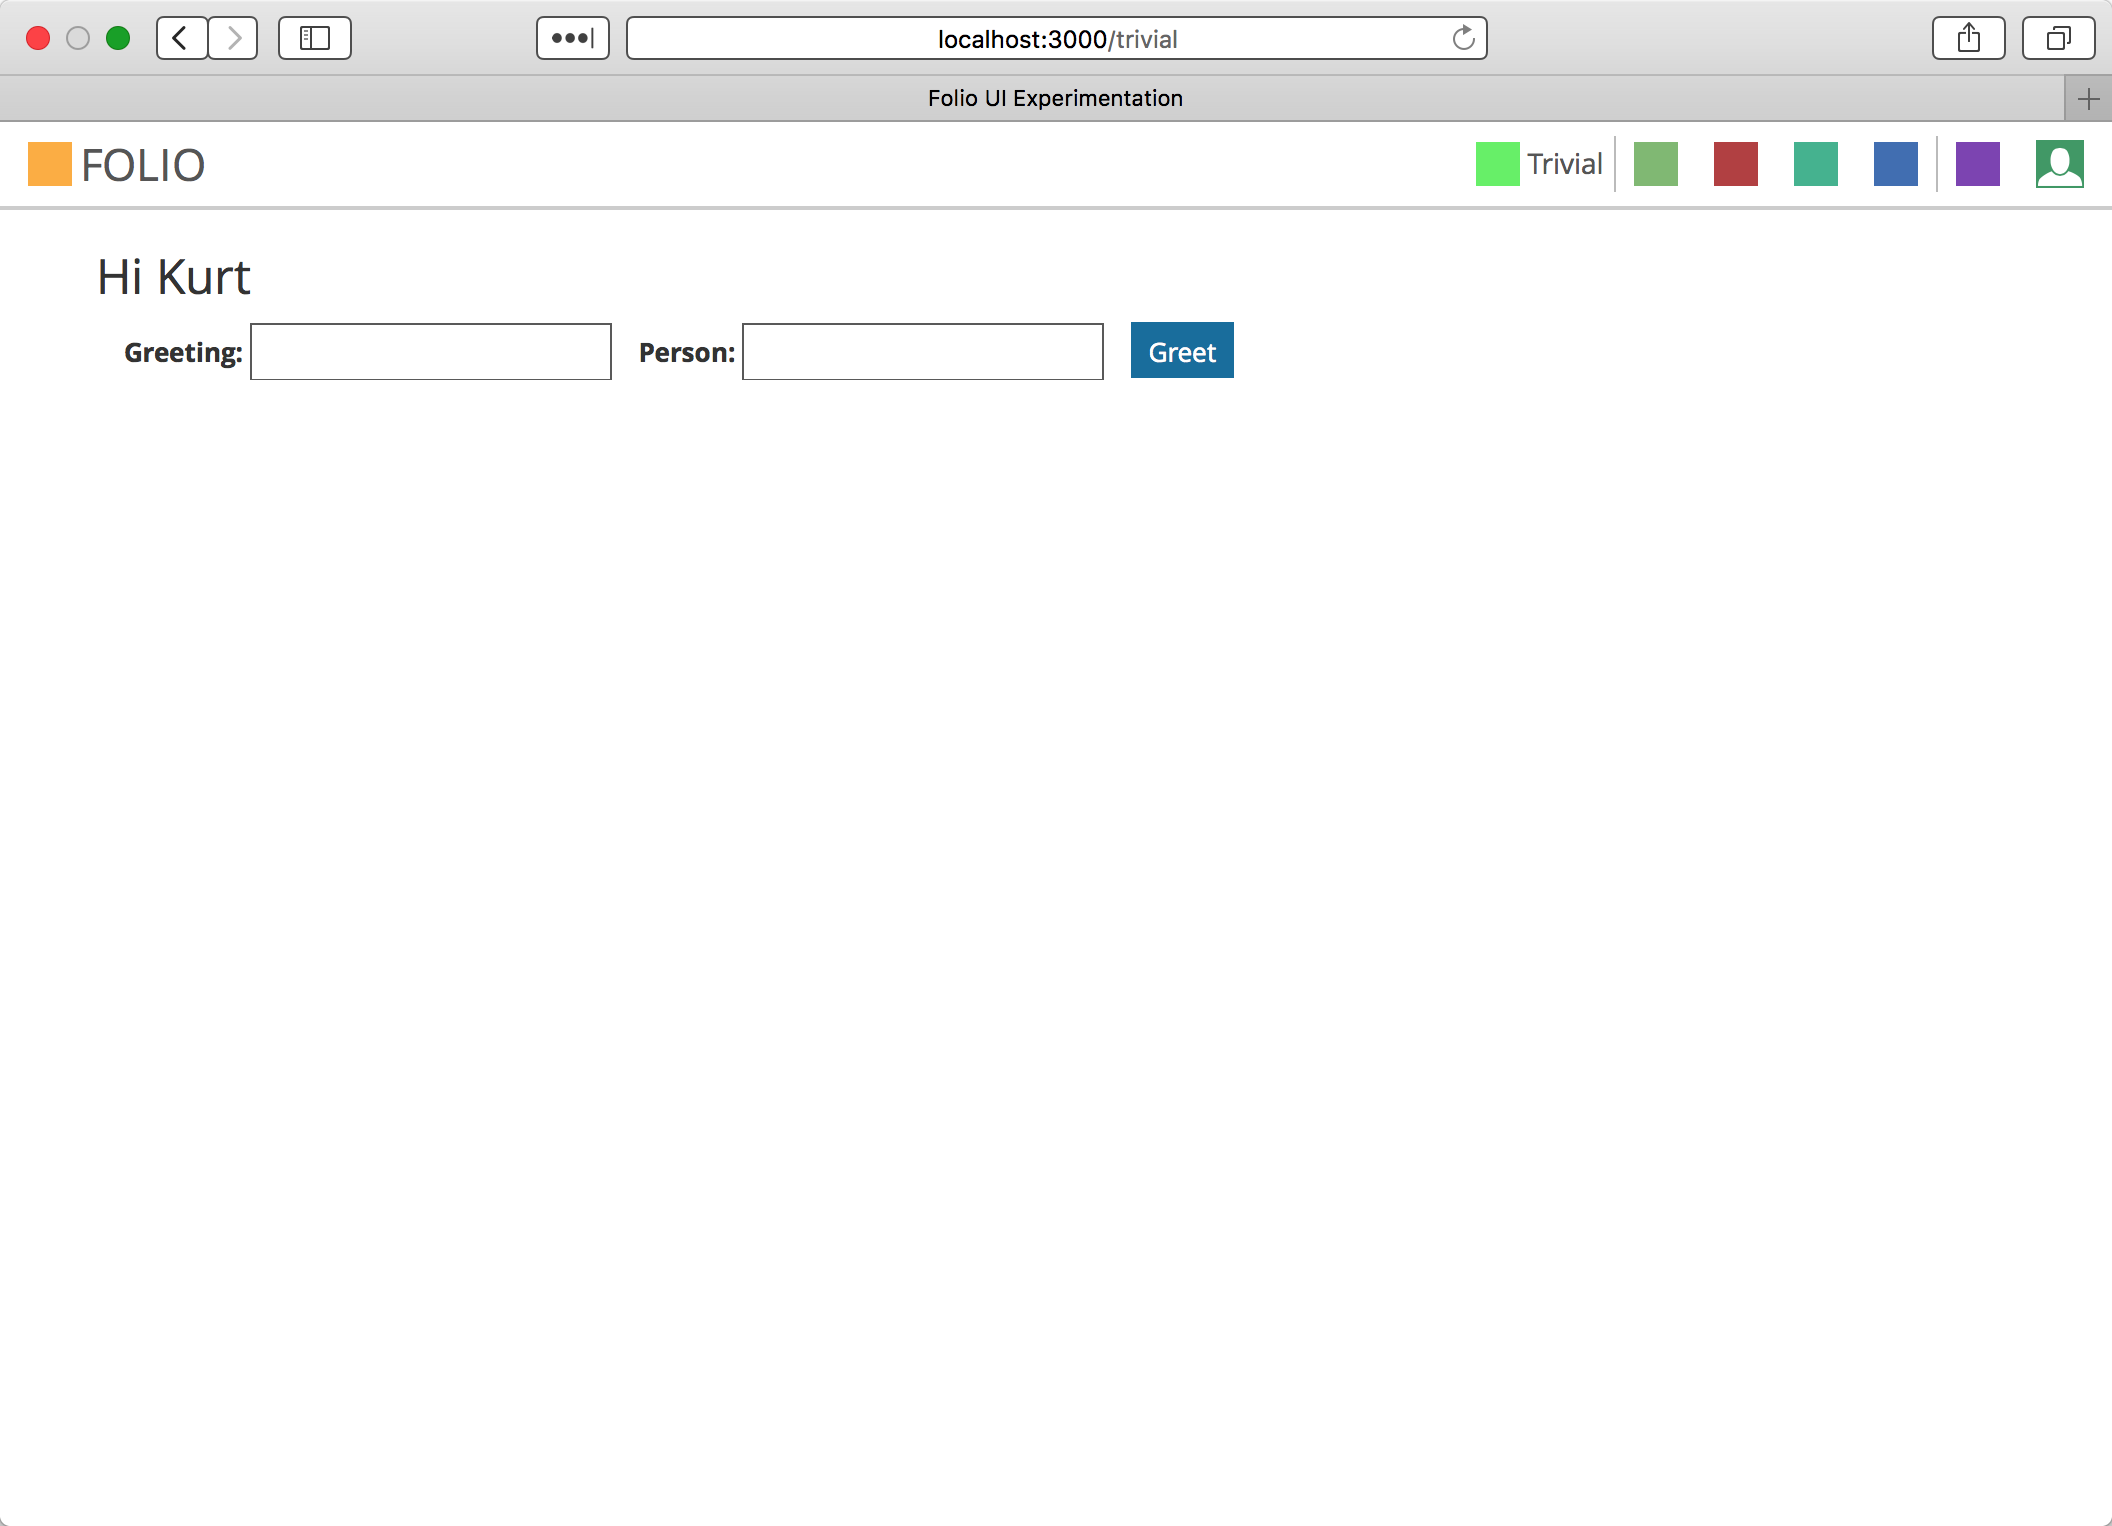
Type in a greeting and name of your choice and submit the form to see the reply.
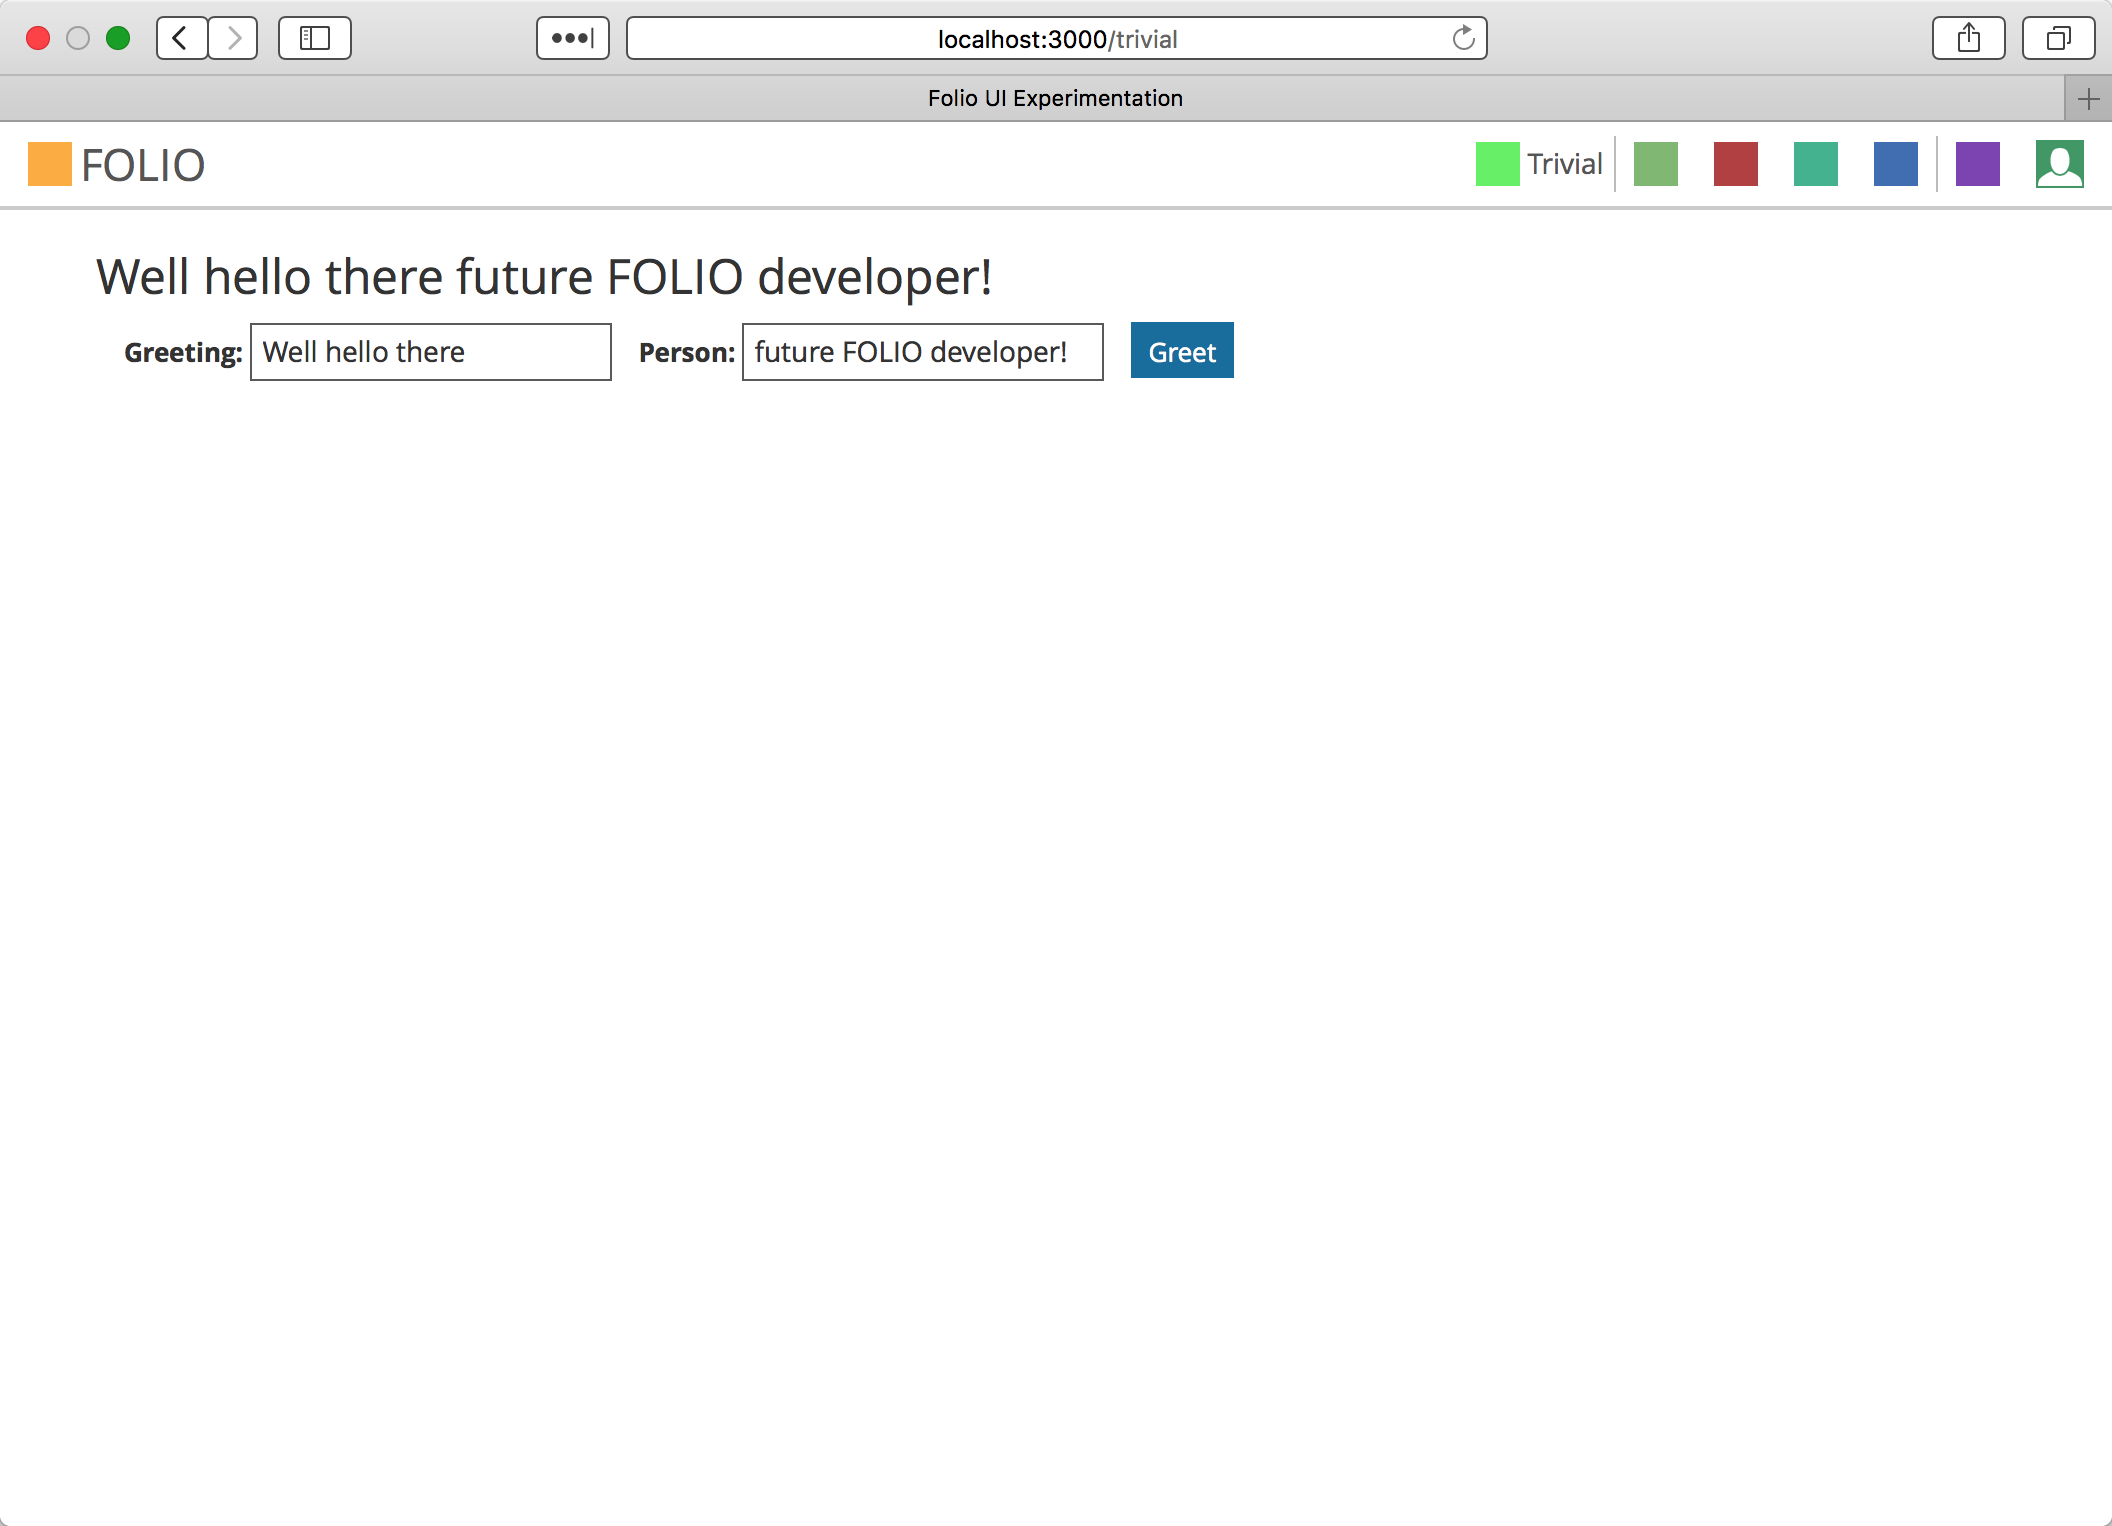
This is an example of the Stripes server component communicating with a Stripes browser component. We have not set up the Okapi part of the FOLIO system, so this interaction is strictly within the Stripes UI Server itself.
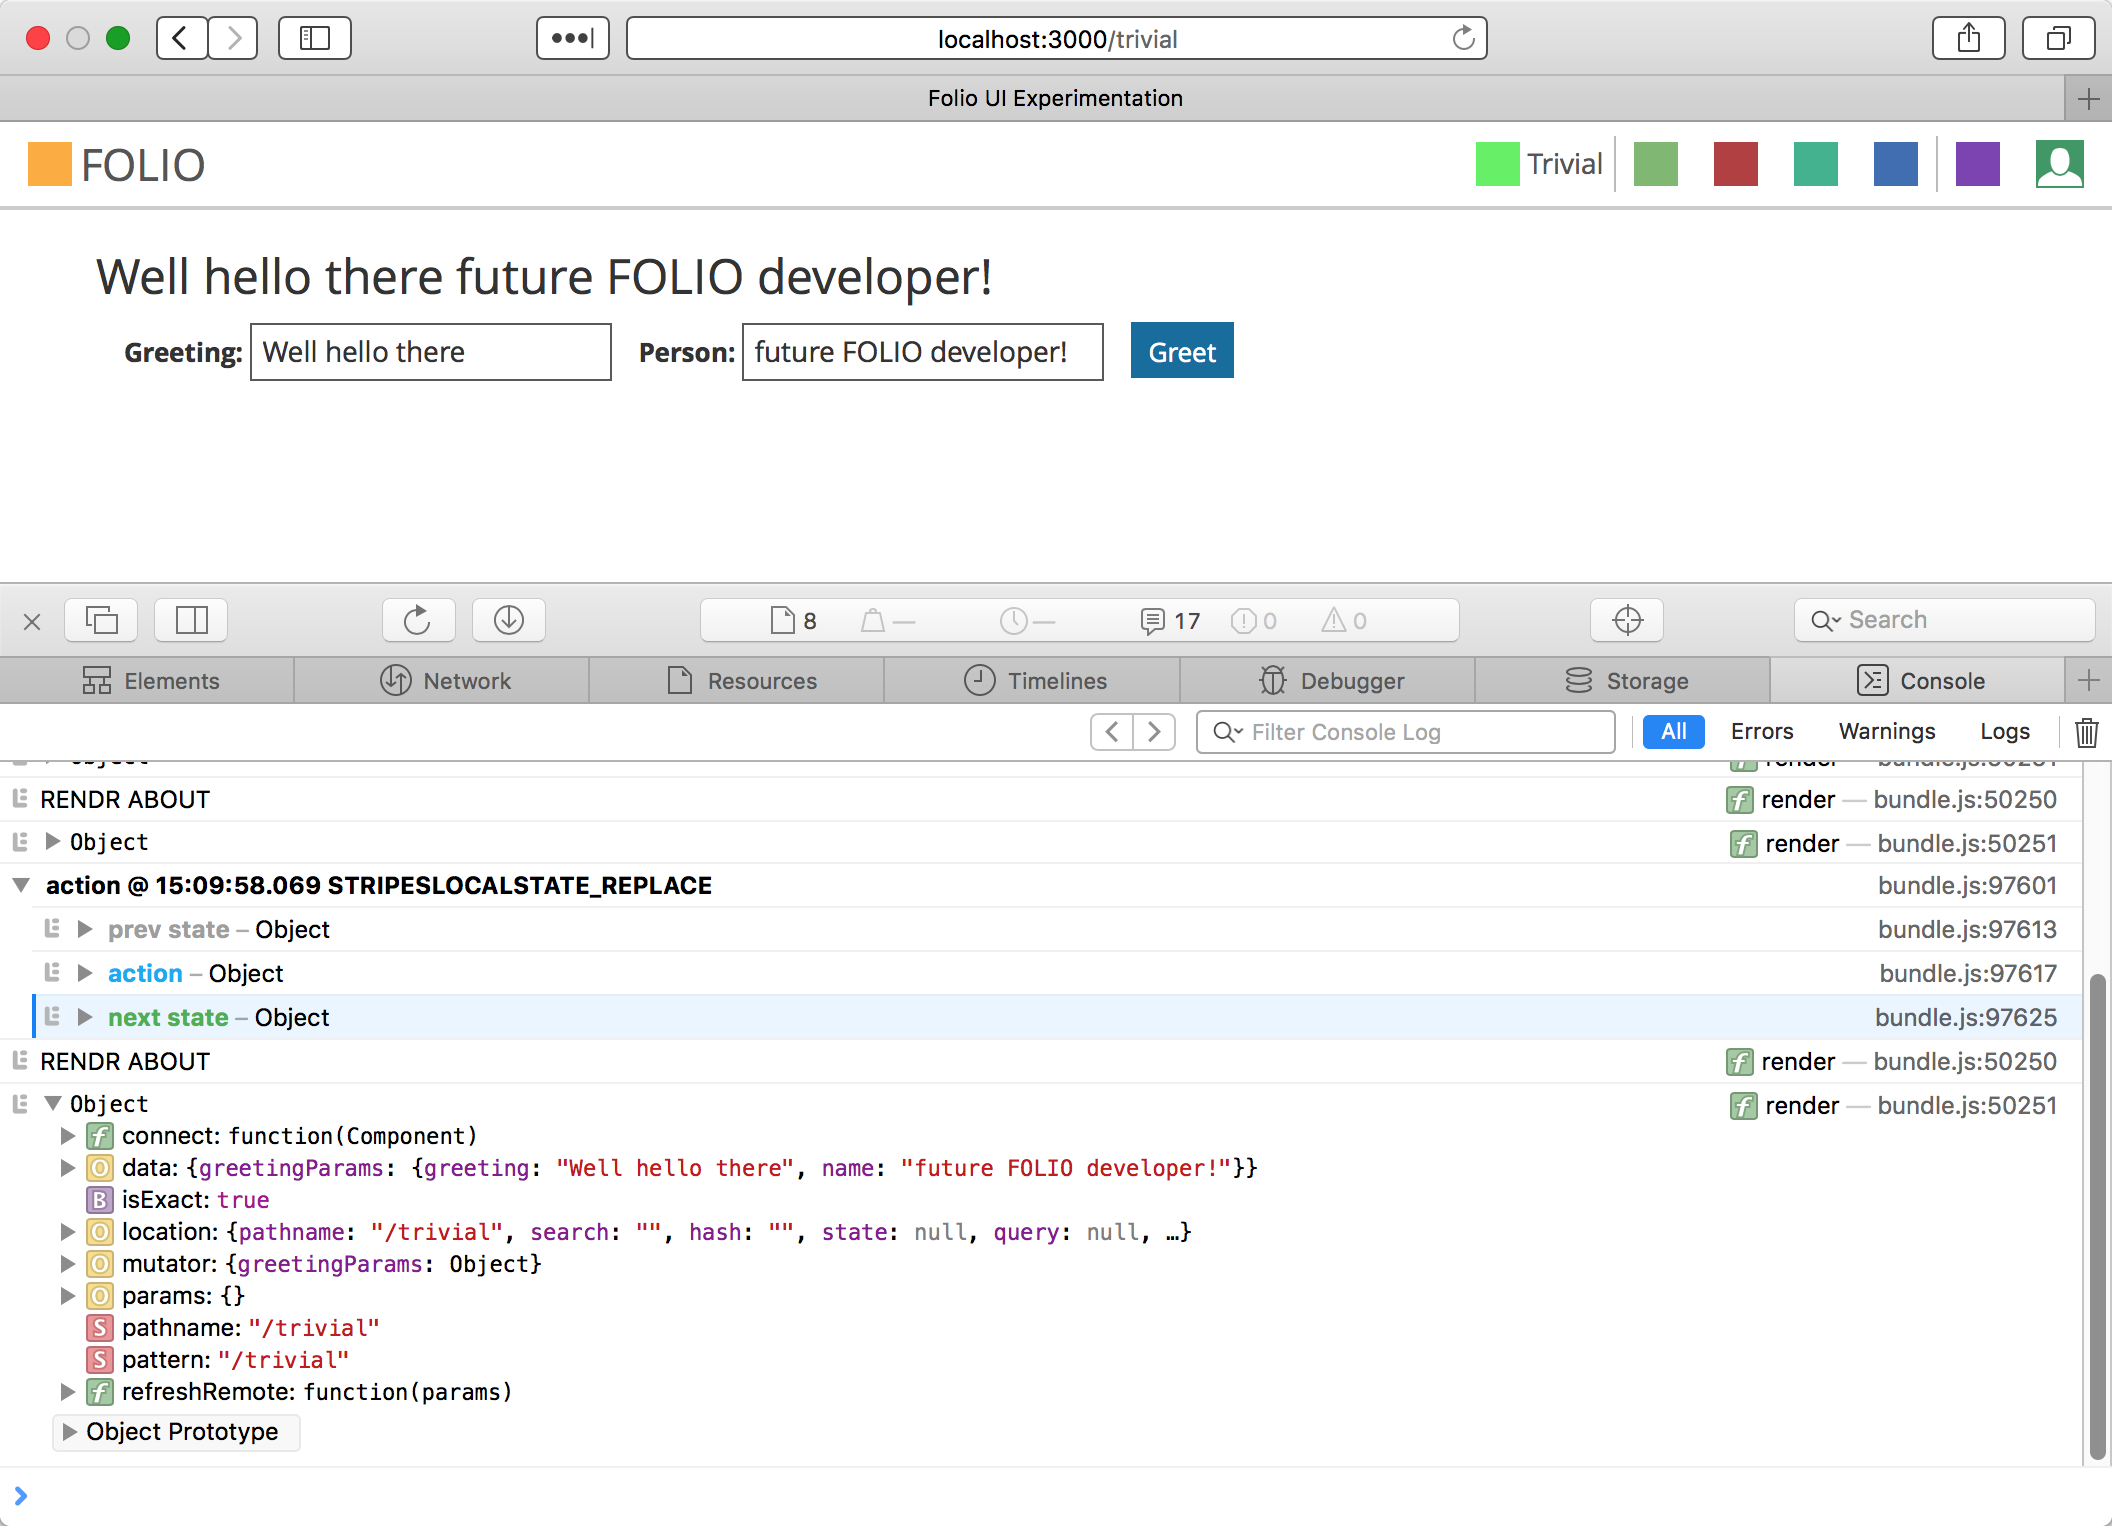
The source for the Trivial module is in the stripes-core git repository (https://github.com/folio-org/stripes-core/tree/master/examples/trivial), with the bulk of the work in the About.js file. More details about the state of the object within the module can be seen by viewing the debugging output in the browser’s JavaScript console.
Finish
Now stop this basic Stripes server. Do Control-C to exit it.